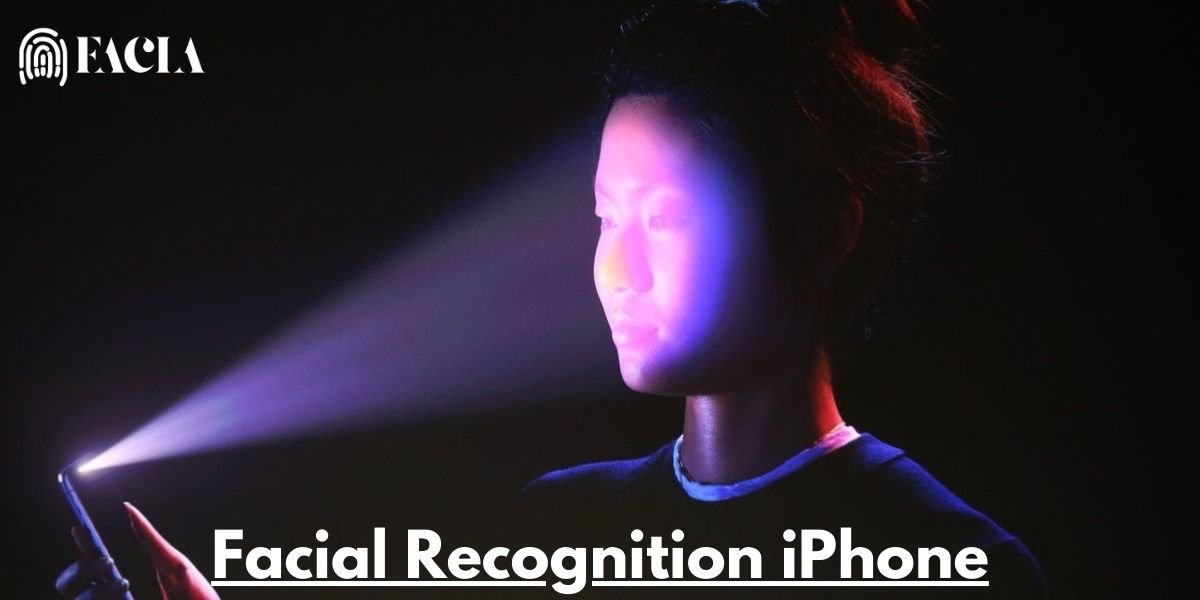
Facial recognition on iPhones, known as Face ID, is a secure biometric authentication system that uses the TrueDepth camera system to map and recognise the unique facial geometry of the user. This allows users to unlock their devices, make purchases, and access apps with just a glance.
Face ID is designed to be highly secure and private, with facial data stored securely on the device and protected by various security measures. It can also adapt to changes in your appearance over time, such as growing a beard or wearing glasses.
While Face ID is a convenient and secure way to unlock your iPhone, it’s important to be aware of its limitations. For example, it may not work in certain lighting conditions or if the user is wearing a face mask. Additionally, some users may have concerns about privacy and security, although Apple has taken steps to address these concerns.
What is meant by facial recognition?
What is facial recognition?Using a person’s face to identify or verify their identity is known as facial recognition. This technology can recognize people in images, films, or in real time.
One type of biometric security is Facial Recognition System. Voice, fingerprint, and iris or retinal recognition software are examples of additional biometric software. Though there is growing interest in other areas of use, security and law enforcement are the primary uses of the technology.
How to set up facial recognition on iPhone
There are some steps to set up facial recognition on iphone.
Go to Settings:
- Open the Settings app on your iPhone.
- Scroll down and select Face ID & Passcode.
Tap Face ID & Passcode:
- Scroll down and tap on “Face ID & Passcode.”
- Enter your passcode: You’ll be asked to enter your iPhone’s passcode for security purposes.
- Set Up Face ID: Tap on “Set Up Face ID” to begin the setup process.
- Position your face: Hold your iPhone at arm’s length and position your face within the frame on the screen.
- Move your head: Gently move your head in a circular motion as instructed on the screen. This helps Face ID capture your facial data from different angles.
- Repeat the process: You’ll be asked to repeat the head movement for a second scan.
Confirm your payment information: If you want to use Face ID for Apple Pay, you’ll be prompted to confirm your payment information.
Done: Once the setup is complete, you’ll see a confirmation message.
Here are some additional tips for setting up Face ID:
- Make sure your face is well-lit and free of any obstructions, such as glasses or a face mask.
- Follow the on-screen instructions carefully, especially when moving your head.
- If you’re having trouble setting up Face ID, try resetting it and starting over.
For more detailed instructions and troubleshooting tips, you can refer to Apple’s official support article: https://support.apple.com/guide/iphone/set-up-face-id-iph6d162927a/ios.
How does facial recognition work on the iPhone?
Face ID on iPhones uses a combination of advanced hardware and software to recognize the unique facial geometry of the user.
TrueDepth Camera System:
This system includes an infrared camera, a flood illuminator, and a dot projector.
Infrared Image and Depth Map:
- The flood illuminator emits invisible infrared light onto your face.
- The dot projector projects over 30,000 invisible infrared dots onto your face, creating a depth map.
- The infrared camera captures both the infrared image and the dot pattern.
Mathematical Representation:
- The captured data is processed by the iPhone’s neural engine, creating a unique mathematical representation of your face.
- This representation is stored securely on the device.
Real-time Matching:
- Each time you try to unlock your iPhone, the TrueDepth camera captures a new infrared image and depth map.
- The iPhone’s neural engine compares this new data to the stored mathematical representation.
- If the match is successful, your iPhone unlocks.
Key Points:
- Security: Face ID data is stored securely on the device and protected by various security measures.
- Adaptability: Face ID can adapt to changes in your appearance over time, such as growing a beard or wearing glasses.
- Limitations: Face ID may not work in certain lighting conditions or if the user is wearing a face mask.
Overall, Face ID is a secure and convenient way to unlock your iPhone and access other features. By understanding how it works, you can appreciate its capabilities and limitations.
How to pay for something in a Safari app or on a website
Step 1: Either choose Apple Pay or press the “Buy with Apple Pay” button to complete the payment. Check your payment information. To choose a different card to pay with, click the Next button > next to your card.
Step 2: Double-click the side button on your iPhone or iPad, then check it.
Step 3: Watch for the tick and the words “done” to appear.
FAQ’s
How to update facial recognition on iPhone
You don’t “update” Face ID itself, but you can reset it if you’ve made significant changes to your appearance (like growing a beard) or if you’re having trouble with it.
When did facial recognition start on iPhone
Facial recognition on iPhones, known as Face ID, was first introduced with the iPhone X in 2017.
Turn off facial recognition iphone
To turn off facial recognition (Face ID) on your iPhone, follow these steps:
- Open Settings: Go to the Settings app on your iPhone.
- Tap Face ID & Passcode: Scroll down and tap on “Face ID & Passcode.”
- Enter your passcode: You’ll be asked to enter your iPhone’s passcode for security.
- Toggle off “iPhone Unlock”: Find the “iPhone Unlock” option and toggle the switch to the “Off” position.
That’s it! You’ve successfully turned off Face ID on your iPhone. You’ll now need to use your passcode to unlock your device.
If you want to turn off Face ID completely, you can also tap “Reset Face ID.” This will delete all Face ID data from your device.
Remove facial recognition iPhone
To remove facial recognition (Face ID) from your iPhone, you need to reset it. Here’s how:
- Go to Settings: Open the “Settings” app on your iPhone.
- Tap Face ID & Passcode: Scroll down and tap on “Face ID & Passcode.”
- Enter your password: You’ll be asked to enter your iPhone’s passcode for security.
- Reset Face ID: Tap on “Reset Face ID.”
This will delete all Face ID data from your device, effectively removing facial recognition. You’ll then need to set up Face ID again if you want to use it in the future.
Why is my facial recognition not working on my iPhone?
There are several reasons why your iPhone’s facial recognition might not be working:
- Face ID is not set up: If you haven’t set up Face ID on your iPhone, it won’t work. Please follow the steps in the previous response to set it up.
- Face ID is disabled: If Face ID is disabled, it won’t work. To enable it, go to Settings > Face ID & Passcode and turn on Face ID.
- Your face is not positioned correctly. Make sure your face is positioned within the frame on the screen and that your eyes, nose, and mouth are fully visible.
- You’re wearing a face mask or covering your face. Face ID may not work if you’re wearing a face mask or covering your face.
- You’ve made too many unsuccessful attempts. If you’ve made five unsuccessful attempts to match your face, you’ll need to enter your passcode to unlock your iPhone.
- Your iPhone hasn’t been unlocked for more than 48 hours. If you haven’t unlocked your iPhone for more than 48 hours, you’ll need to enter your passcode to unlock it.
- Your iPhone has received a remote lock command. If your iPhone has received a remote lock command, you’ll need to enter your passcode to unlock it.
- Your iPhone is too old. Face ID is only available on iPhone X and later models.
- Your iPhone needs an iOS update. Make sure your iPhone is updated to the latest version of iOS.
- There’s a problem with the TrueDepth camera: If the TrueDepth camera is damaged or covered, Face ID won’t work.
If you’ve tried all of these troubleshooting steps and Face ID still isn’t working, you may need to take your iPhone to an Apple Store or authorised service provider for repair.
Read More:

